
Creating Rules
1. Rule Type
Section titled “1. Rule Type”At the top of the rule creation page, you choose the rule type:
- Blacklist → Block access if the visitor matches conditions.
- Redirect → Redirect the visitor to another URL if conditions match.
- Whitelist → Always allow access if conditions match.

Only one type can be selected per rule.
2. Basic Information
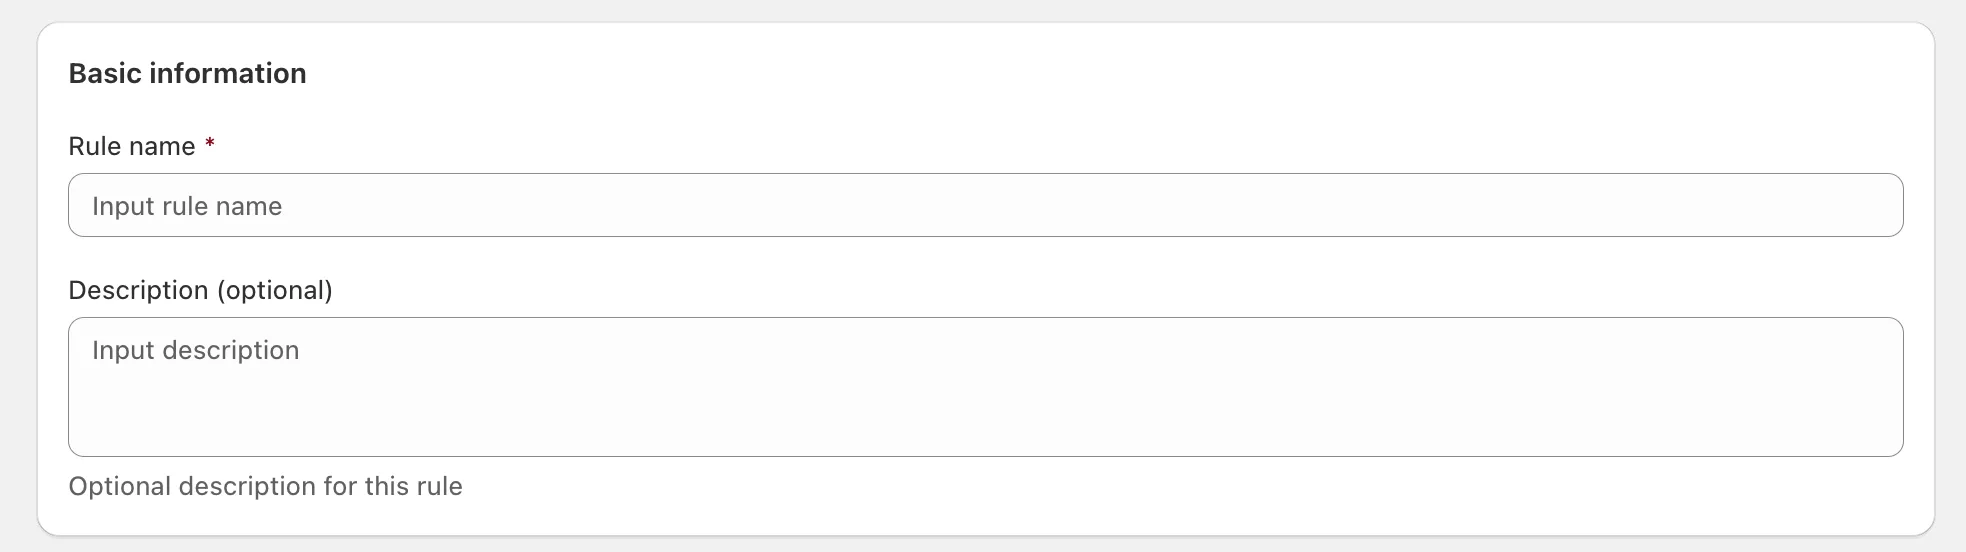
Section titled “2. Basic Information”- Rule name (required) → Enter a clear, descriptive name (e.g., Block US VPN traffic).
- Description (optional) → Add a note to explain what this rule is for, useful for teams.
3. Conditions
Section titled “3. Conditions”Conditions define who the rule applies to. You can add one or more.
- Logic: Choose between AND or OR:
- AND → all conditions must match.
- OR → only one condition needs to match.
Available Conditions
Section titled “Available Conditions”- IP/CIDR → Block or allow a single IP or an IP range (CIDR).
- Country → Apply rule by country.
- Region → Apply rule by state/province/region.
- ISP (Internet Provider) → Target visitors based on their ISP.
- User Agent → Match specific browser/device user agents.
- Referral URL → Block or allow traffic coming from a specific referral site.
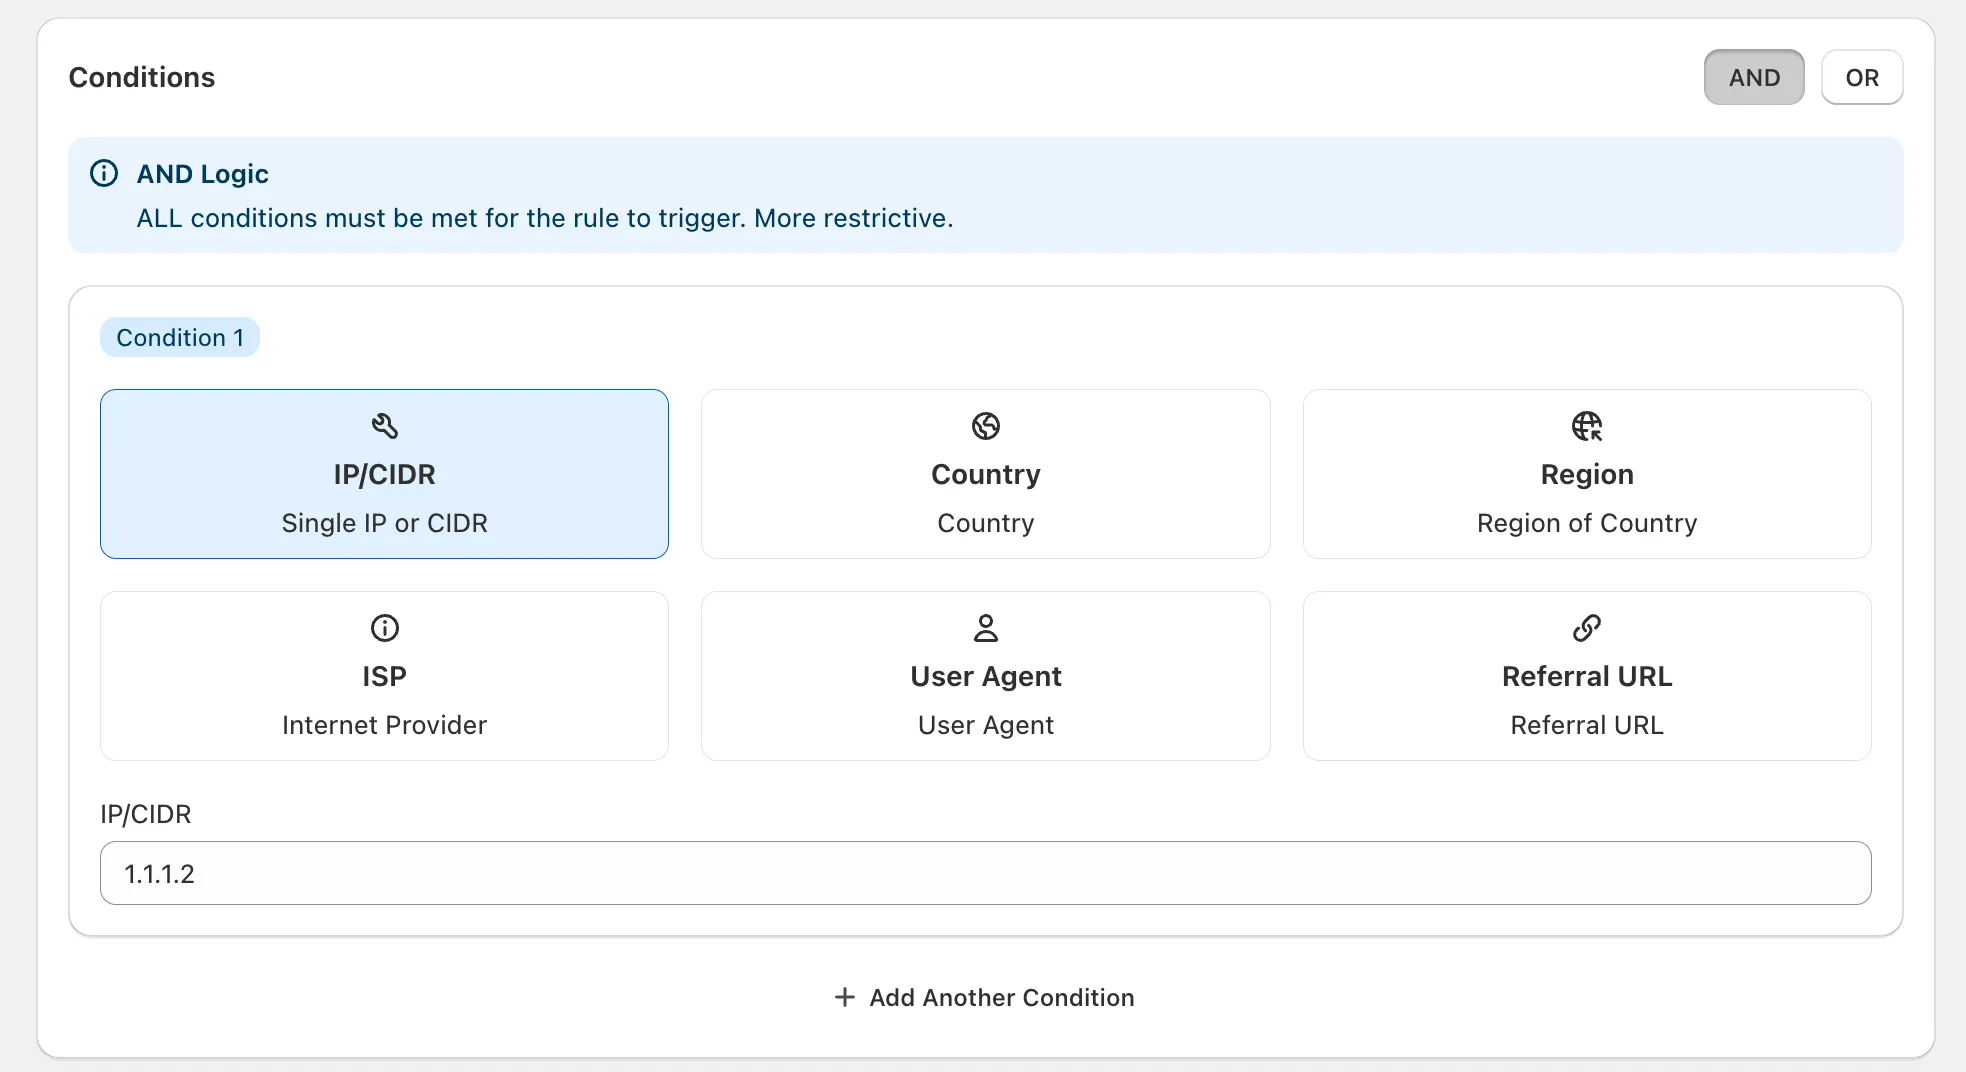
You can add multiple conditions by clicking “Add Another Condition”.
4. Scope
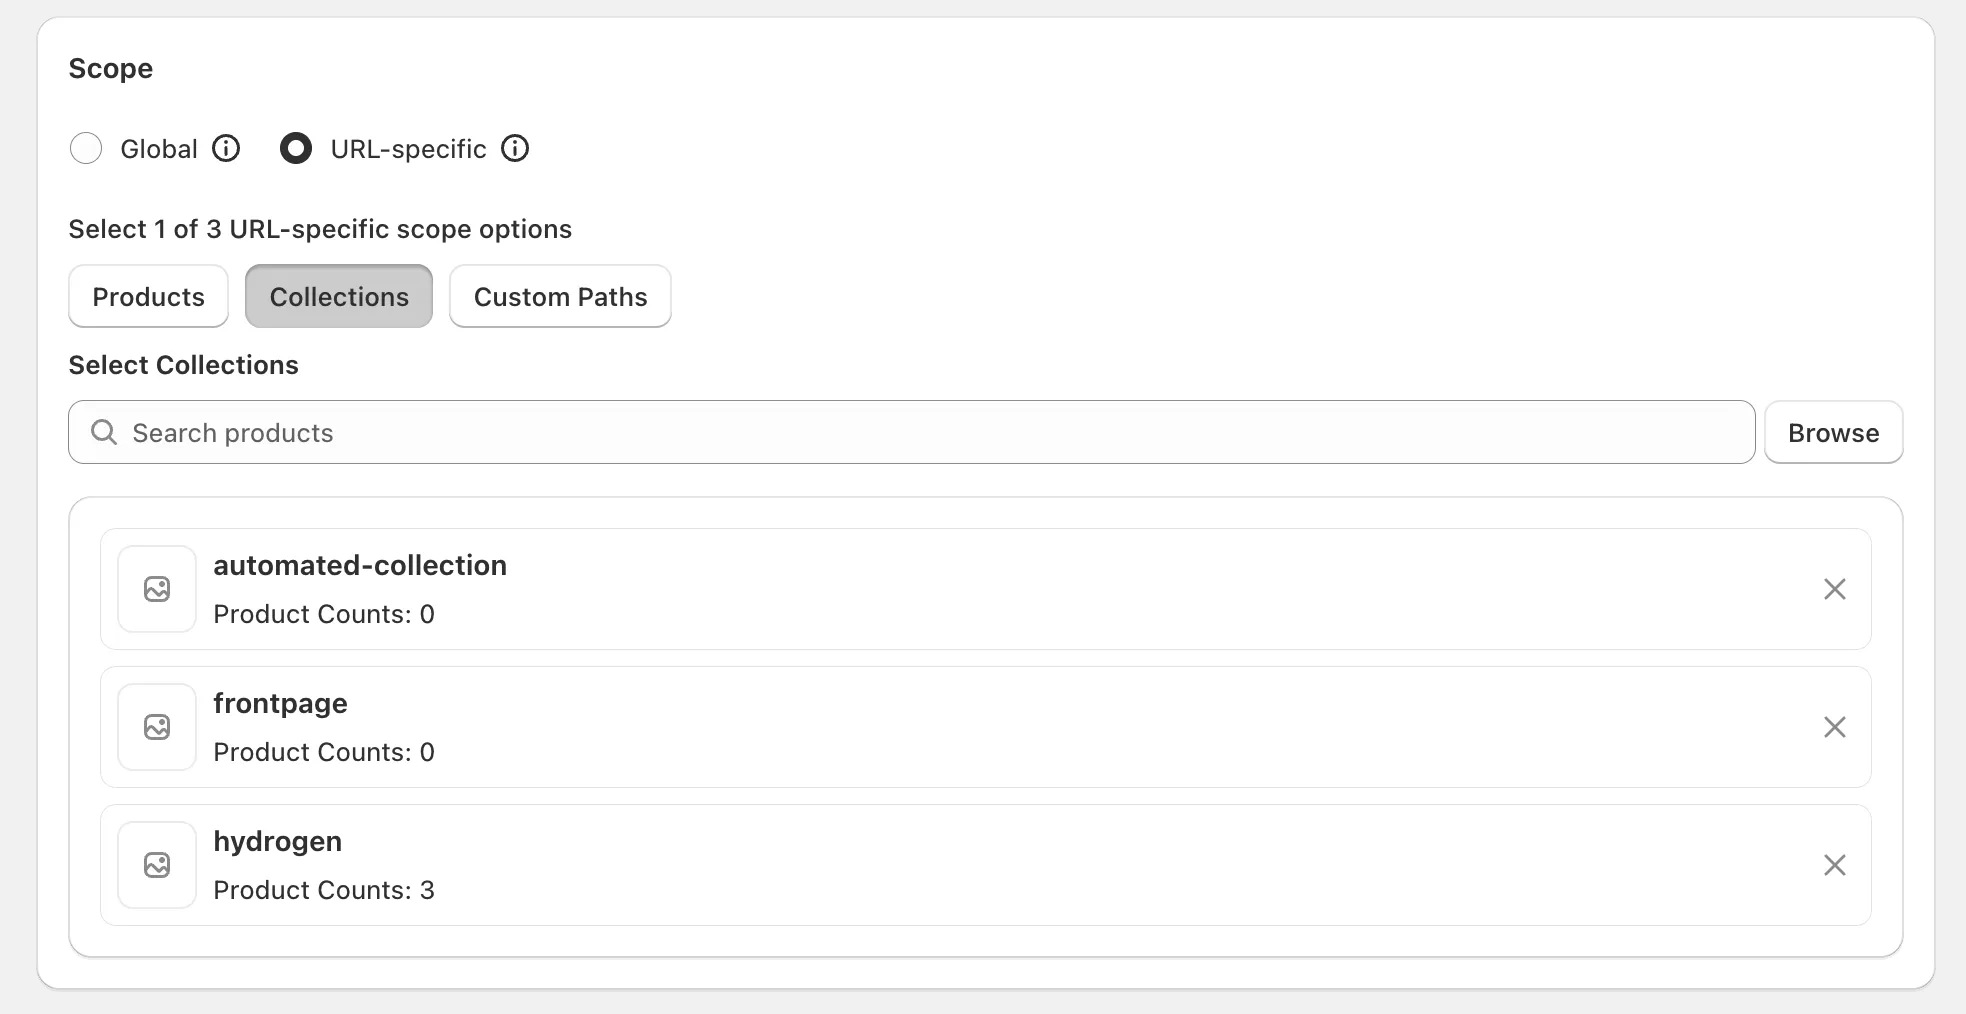
Section titled “4. Scope”Define where the rule applies:
- Global → Applies to all pages across the entire website.
- URL-specific → Applies only to the specified page(s). Example:
/collections/automated-collection.
If you have any questions, feel free to contact us via Crisp Chat or email us at [email protected].